
 Finishing a jigsaw puzzle feels like a small victory, but instead of taking it apart, why not display finished jigsaw puzzles to enjoy every day?
With a few simple tools and creative ideas, you can transform your completed puzzle into lasting wall art, home décor, or even conversation pieces.
Here’s how to preserve and display your puzzles beautifully.
Table of Contents
Why Display Your Finished Puzzles?
A completed puzzle represents hours of focus, patience, and creativity. Displaying it not only celebrates your effort but also adds a personal, meaningful touch to your space.
Many modern puzzles feature artwork that rivals prints, making them perfect for framing.
Step 1: Gluing Your Puzzle for Preservation
Before displaying your puzzle, you’ll want to secure the pieces so they stay intact.
Puzzle glue is applied evenly across the surface, sealing the pieces together.
Once dry, your puzzle becomes a solid sheet that can be handled, framed, or mounted.
For best results, apply glue on the front and allow it to fully dry before moving.
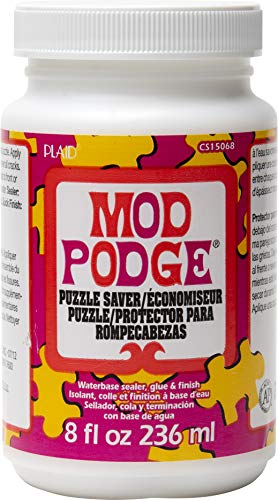
Mod Podge Puzzle Saver is a quick-drying, clear finish that leaves a smooth, glossy finish. Preserve the beauty of your puzzle projects and more with this multi-purpose decoupage glue. This all-in-one sealant, glue, and finish is a great way to ensure your hard work stays together to display it.
Step 2: Choosing the Right Frame
Framing your puzzle instantly elevates it from hobby to décor.
Look for frames designed specifically for puzzles, or measure your finished piece and use a standard frame that fits.
Some frames come with backing boards and mounting hardware, making installation easy.

This lightweight puzzle frame kit features a 1-inch black woodgrain molding for a stylish display, while the clear front protects your completed puzzle from dust and damage.
Step 3: Alternative Display Ideas
Framing is classic, but there are other creative ways to showcase your puzzle:
- Puzzle wall gallery: Group several finished puzzles together for a unique art wall
- Tabletop display: Place under glass on a coffee table
- Seasonal decor: Rotate puzzles based on holidays or themes
- Magnetic backing or foam board: Mount for a lightweight, modern look
These options let you personalize your space while keeping things flexible.
Step 4: Work Smart with Storage and Setup
Before you glue and frame, having the right setup tools makes everything easier.
A sturdy puzzle board allows you to move your completed puzzle safely before gluing. This is especially helpful if you don’t have a permanent workspace.

Suitable for 500 and 1000-piece puzzles. Non-slip felt for secure puzzle placement.
Step 5: Keep Your Puzzle Protected Long-Term
Properly preserving your puzzle ensures it stays vibrant for years.
To extend the life of your displayed puzzle:
- Keep it out of direct sunlight to prevent fading
- Use UV-protective frames if possible
- Avoid humid areas to prevent warping

These black or gold frames can be perfectly blended in any decorative style space. The frame's front has clear plexiglass and a sturdy backboard to keep the puzzle in place.
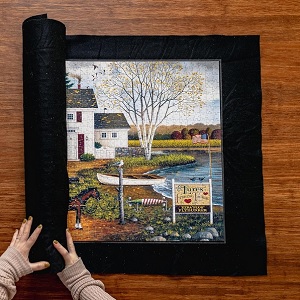
Bonus: Roll-Up Mats for In-Progress Projects
If you’re not ready to finish yet but want to save your work:
These mats are perfect for keeping your puzzle intact until you’re ready to turn it into art.

Save your puzzle progress in seconds with this roll-up mat. This solid, expandable roll-up tube provides a dependable core for storing your puzzle progress.
Turning Your Puzzle into Art
Turning your finished puzzle into art is one of the most rewarding parts of the hobby.
If you want the simplest route, glue and frame your favorite piece. If you enjoy switching things up, try rotating displays or creating a puzzle gallery wall.
The best approach comes down to how you want to enjoy your puzzles after completion, whether as lasting keepsakes or ever-changing décor.
Either way, you’re giving your hard work a second life beyond the box,


